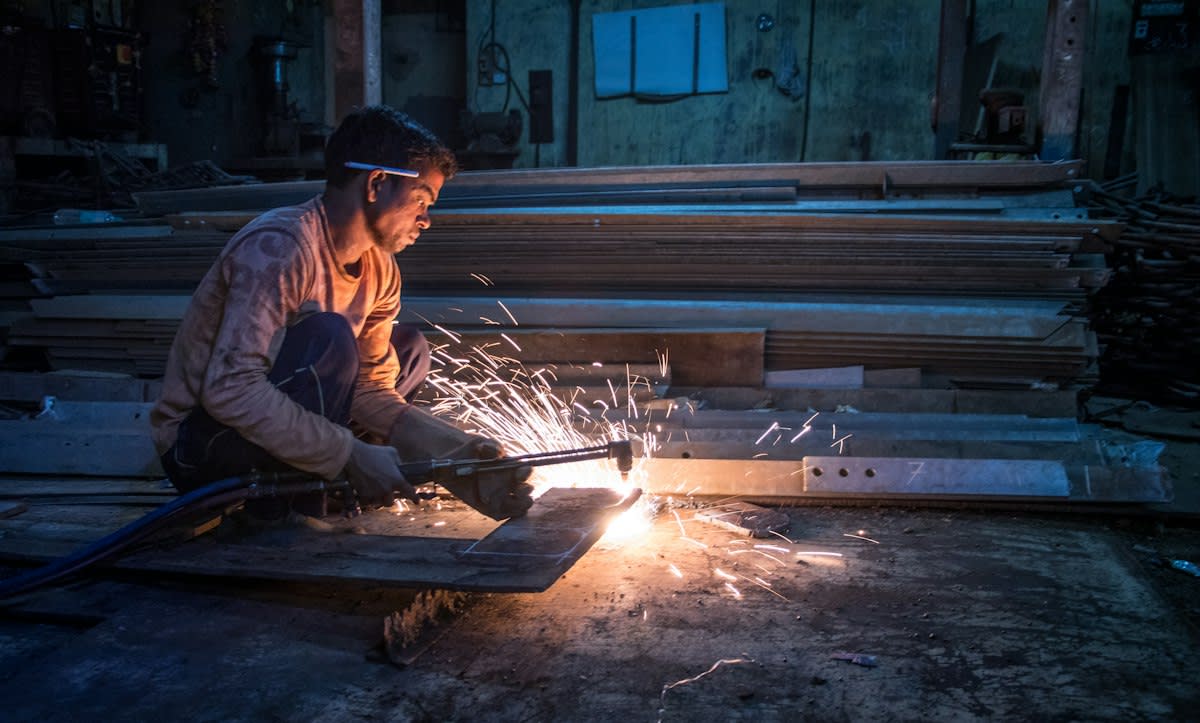
The Z-axis bearing shrieks. It is a high-pitched, metallic wail that tells you the carriage is about to seize and ruin a forty-hour print. You smell scorched wiring and the cloying scent of ozone mixing with the stagnant humidity of a Dharavi workshop. A bead of molten steel sags, dripping like hot wax onto the build plate because the travel speed dropped by a fraction of a millimeter per second. Now you have a cold lap, a structural void that makes the whole part a piece of expensive scrap metal.
The Hardware Toll
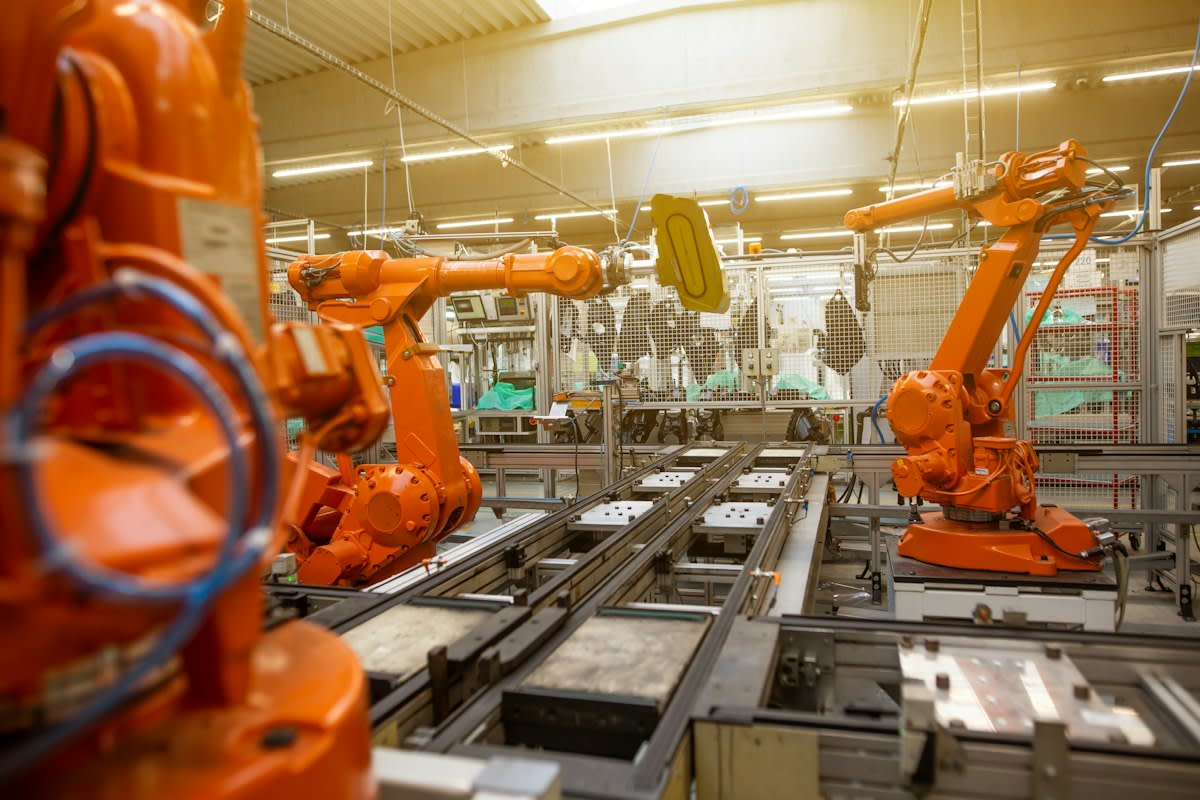
WAAM is not a clean game. It is essentially a robot arm holding a welding torch, dumping kilograms of wire into a pile. You taste metallic dust on your tongue for hours after a shift. Forget the white-room fantasies of powder bed fusion. Here, you deal with spatter that welds itself to the machine frame and the sound of a failing bearing that you ignore until the part warps into a banana. It is brutal. But it is the only way to move from a five-kilogram part to a five-hundred-kilogram part without waiting three months for a build to finish.
Prerequisites for the Field
You cannot just slap a torch on a CNC mill and call it additive. You need a power source that can handle the duty cycle without tripping the breakers in a neighborhood where the grid is a suggestion. The wire feed must be consistent; any stutter in the drive rolls creates a bump that propagates through ten layers of deposition. You need a shielding gas setup that does not leak, because a single pinhole of oxygen in your argon stream will turn your titanium build into a brittle, grey sponge.
- High-amperage power source capable of sustained GMAW or PAW cycles.
- Industrial-grade 6-axis robotic arm or 3-axis CNC gantry with high rigidity.
- Cold-rolled wire feedstock with verified chemical composition.
- High-volume argon or helium shielding gas delivery system.
- Heavy-duty substrate plate, pre-heated to manage the thermal gradient.
The transition from design to metal is where most operators fail. They treat the slicer like a magic wand. It is not. You are managing a heat-affected zone that wants to pull your part apart while it is still glowing. If you do not account for the interpass temperature, the upper layers will slump. You end up with a part that looks like wet cardboard from a distance.
The Execution Sequence
- Substrate Preparation: Grind the base plate to a mirror finish. Any grease or rust will cause porosity in the first layer, creating a failure point that will crack under the weight of the rest of the build.
- Path Planning: Generate toolpaths that avoid heat accumulation. Do not circle the same area twice in a row; jump across the part to let the metal cool.
- Parameter Calibration: Set your wire feed speed and travel speed to hit the target deposition rate. (Source: Metal AM, 2022) suggests that WAAM can reach deposition rates of 5kg/h, dwarfing PBF systems.
- Deposition Phase: Monitor the melt pool. If the pool widens, increase travel speed or drop the amperage immediately to prevent sagging.
- Interpass Cooling: Wait for the part to hit the target temperature. Use an infrared thermometer, not your gut feeling.
- Post-Process Machining: WAAM produces near-net shapes. You will spend 20% of your time on the robot and 80% on a milling machine removing the 'stair-step' ridges.
Speed is the drug here. While traditional additive methods crawl at millimeters per hour, WAAM screams through the build. The delta is staggering. In a recent industrial comparison, build times for large-scale aerospace components were slashed by up to 90% when switching from powder-based systems to wire-arc (Source: Additive Manufacturing Journal, 2023). You are not paying for precision in the build; you are paying for the ability to get a rough shape on the table in a day.
"The biggest lie in WAAM is the simulation. The software tells you the part is stable, but the physics of the arc tell you it is warping in real-time. You have to feel the heat and adjust on the fly."— Marcus Thorne, Lead Systems Integrator at HeavyMetal AM
Ground-Level Friction
Here is why the theory fails in the shop. Engineers love their FEA models. They calculate the thermal expansion and tell you the part will be fine. Then you actually run the arc. The heat builds up in the center of the part, creating a thermal gradient that twists the substrate right off the table. I have seen a two-meter titanium spar warp three inches in a single afternoon because the operator ignored the interpass cooling time. You cannot simulate the filth of a real shop floor.
Then there is the wire. Cheap wire has impurities. One bad spool of ER70S-6 and you have slag inclusions every few centimeters. You do not find these until the part is in the X-ray machine, and by then, you have wasted three hundred kilograms of material and a week of machine time. The friction is not in the code; it is in the metallurgy.
Common Pitfalls
- Over-deposition: Trying to move too fast and creating 'overhangs' that collapse under their own weight.
- Thermal Shock: Cooling the part too quickly with compressed air, leading to micro-cracks.
- Poor Gas Coverage: Failing to account for drafts in the shop, which leads to oxidation and porosity.
- Ignoring the Substrate: Using a plate that is too thin, which bows upward as the part grows.
Stop chasing the perfect bead. You are building a blank for a mill, not a piece of jewelry. Focus on the structural integrity and the deposition rate. If you spend too much time tweaking the aesthetics of the layer, you lose the only advantage WAAM has: speed.
Fact-Check & Accuracy Note
WAAM build rates typically range from 1kg/h to 10kg/h depending on the arc process, whereas PBF systems often struggle to exceed 0.1kg/h for similar alloys. This represents a 10x to 100x increase in productivity for large-scale components. (Source: Industrial AM Review, 2023).